Jumps
Technique / Skills
Pack it up, pack it in, let me begin...
Welcome and welcome back fellow readers for yet another Hip Hop (hopefully not Hip Op) inspired skills session. Join us in avoiding the ‘house of pain’ as we Jump! Jump! Jump! Jump! (Everybody jump)... Yep, you guessed correctly, it’s a jump fest as we spring into summer, so let’s get to it.
We’ve pumped, we’ve dropped and now it is time to fly, from small undulations to purpose-built features there are a multitude of opportunities to get air under your wheels when we move away from riding easy tracks and trails and start hitting some of the more technical terrain. If you have ever watched the fail compilation videos then you will see that jumps are one area where riders can often get it very wrong. From being too stiff and rigid on the bike to misjudging speed and distance, a multitude of sins can have you wishing you had taken up golf in no time. So, let’s get you flying like a fly guy (or gal).
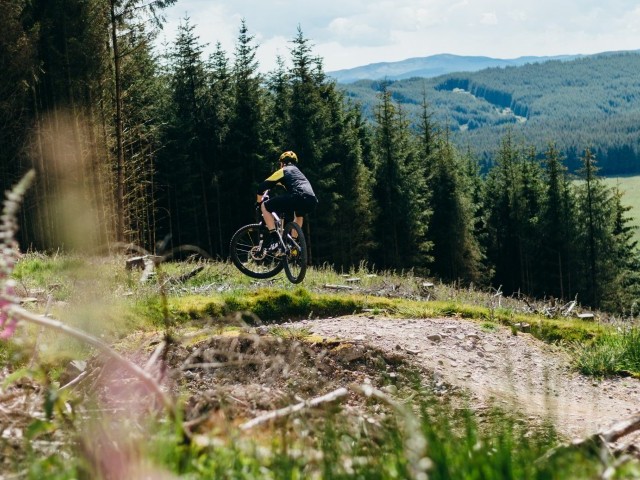
Jumps will come at you in various shapes and sizes, from shonky built booters made out of old doors (yup, I’ve seen this for real out in the hills) to perfectly shaped and crafted dirt tombstones. Small tempting lumps to off-putting monster mounds of dirt are all out there in the world to make you smile or squash your pride. Reading the shapes, matching the speed and managing the shape of the bike are the key to successful flight. With no speedometer on the bar and distance measures on the floor you will have to sharpen your speed control skills and learn on the job, this can result in over or under jumping a feature. If you master technique then both can be assisted and the nasty harsh impacts can be eased, inevitably get ready to huck to flat and case (hang up) a few jumps before you start to get a feel for it. As with all our practice: start small and work up.
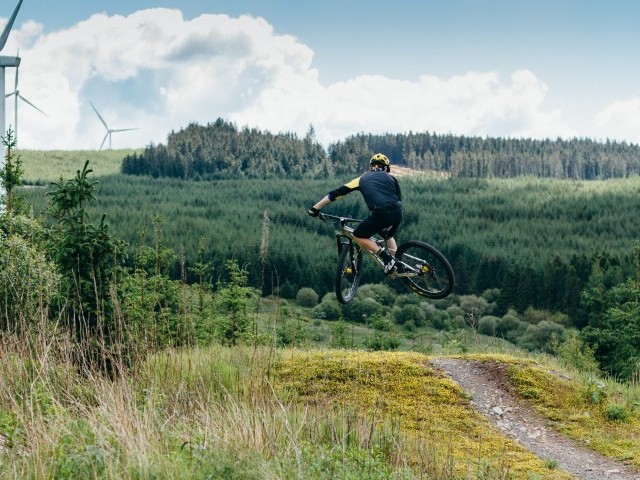
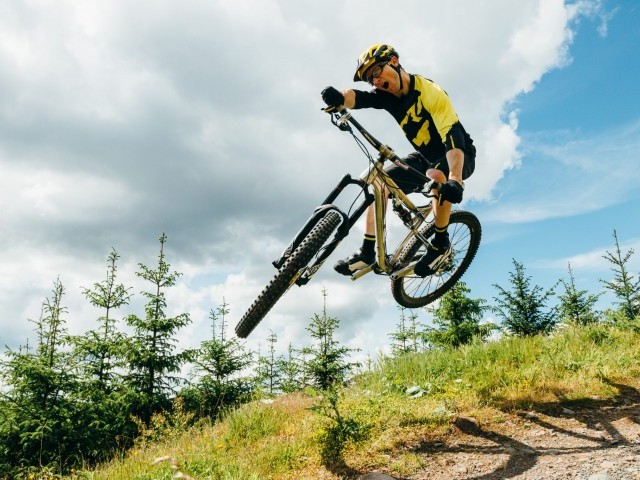
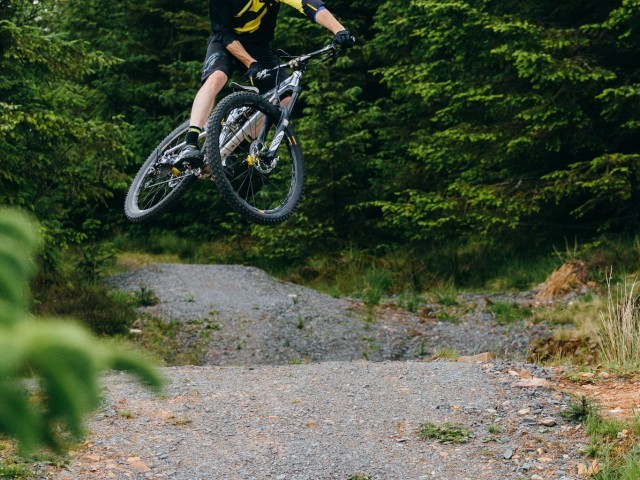
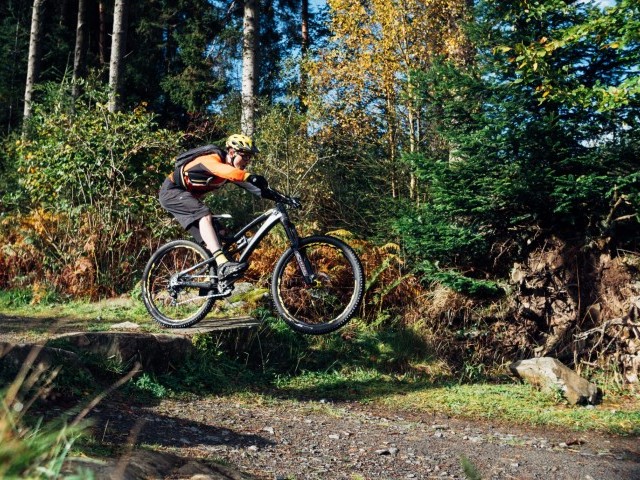
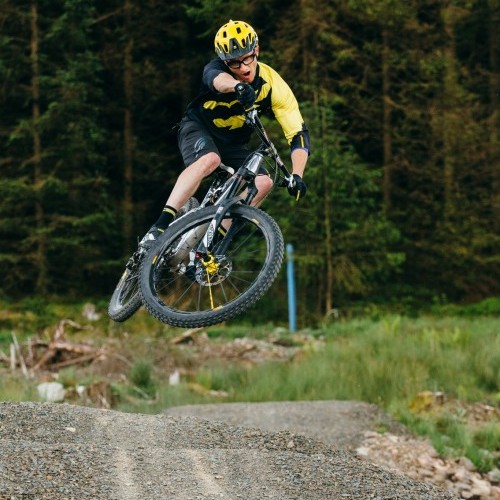
The most common shape you are likely to take on is the good old fashioned tabletop, named appropriately due to its flat top section, the jumps transition (curved section at the start of the feature) will lead you into the face of the jump (take off) and finally your wheels will pass over the ‘lip’ of the jump before flight commences. Buckle up, make sure your baggage is safely stowed and lets GO! Once airborne the bike will have a natural tendency to follow the take off trajectory as you and bike overcome gravity, that minuscule force takes control of the situation and you arc back towards terra firma.
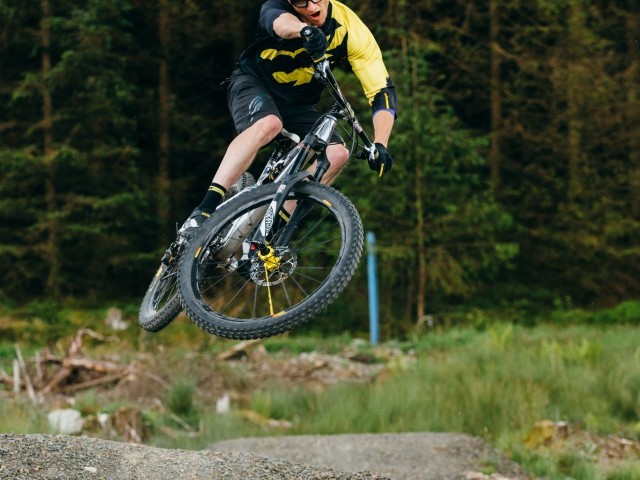
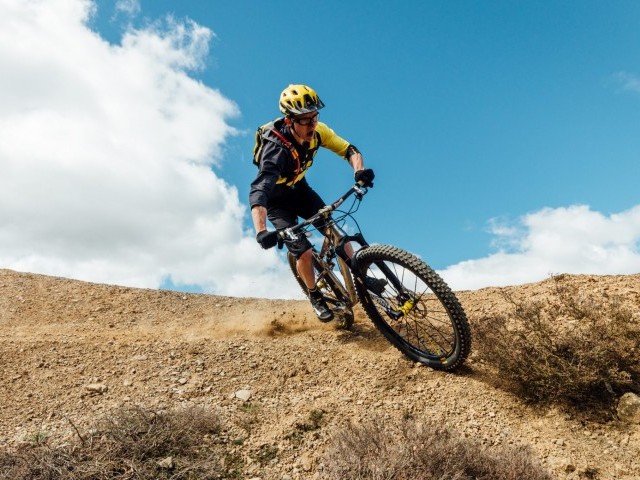
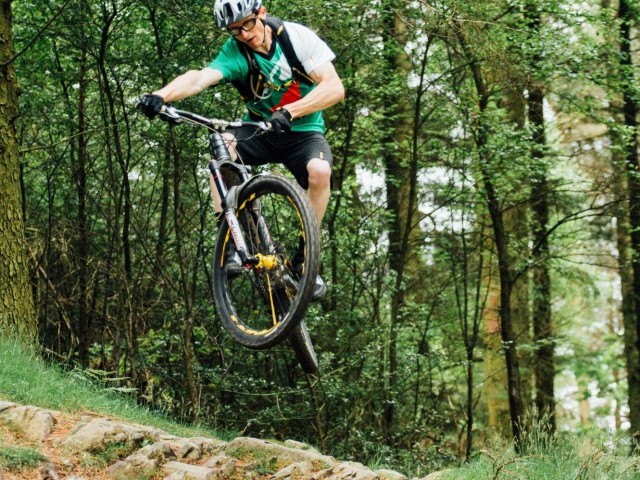
The front of the bike will ‘nose down’ and, if all is well, you will match the shape of the bike with the angle of the landing. In old money we used to aim at landing both wheels together, but with todays slacker, longer and increased-travel bikes it’s not uncommon to bring the bike in with the front wheel contacting the deck slightly before the back. If you are relaxed throughout the flight there is really very little to do, this is why riders can turn the bar, lean the frame, take a hand off and so on. We are there to ensure the trajectory is good and to manage and monitor the bikes shape. Yet sometimes it’s not quite as simple as that, odd shaped transitions, take offs and lips can put pay to easy flights, cross winds, lumps in the trail and that dreaded nervous twitch can also wreak havoc with our scheduled flight. So, how do we recognise these tricky transitions and what do we need to do to fix them?
Let’s focus on the take off section of a jump for starters, we can break these down into two distinct types. Transition jumps (the ones with an obvious radii leading to the lip), and fly-offs (the shapes that resemble that old door propped up on some rotting logs). Transition jumps will ‘boot’ us more upwards/skywards whilst fly-offs will ‘send’ us lower and further ahead. Small tight transitions will suck bike and body in before that stored energy is released outwards and upwards. Bigger, longer, smooth radii on transition jumps (the sort of metal ramps you see at RedBull Hardline) will ease us through and the compression-release process is way more sympathetic and less snappy, however the speed is often much higher (due to the height and distance of these jumps) so the energy in - energy out is also greater and needs to be managed well. Suspension tune is very important on monster ramps.
The fly-off type jump face is easier to manage, but gives less lift and so may need a bit more input from ourselves in order to get the necessary height and distance to match the landing. With these shapes it’s more a matter of managing the speed and making sure it is sufficient enough to get the distance to make it to the landing. With both jump face types it may be necessary to absorb some of the upwards force that arises from passing through the jump face in order to not ‘over jump’ the feature (to land beyond the landing downslope), or simply fly too high and then have to deal with a huge heavy impact on landing. This is where the scrubbing of jumps comes in.
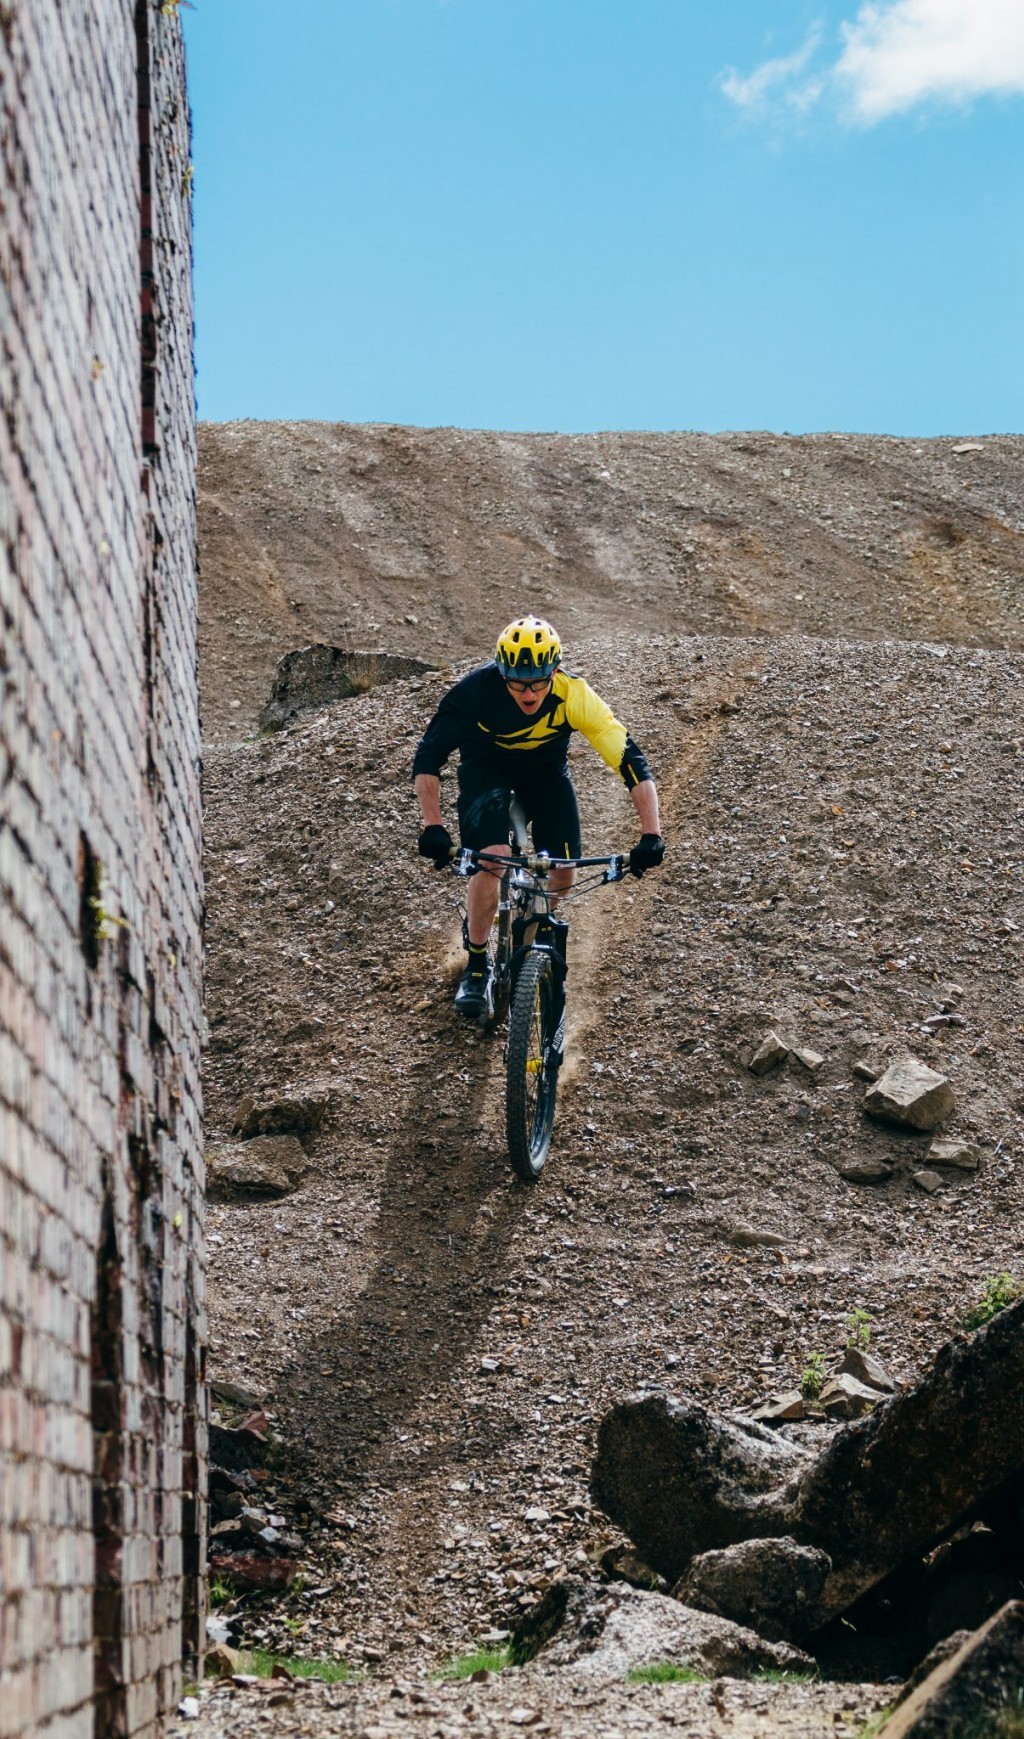
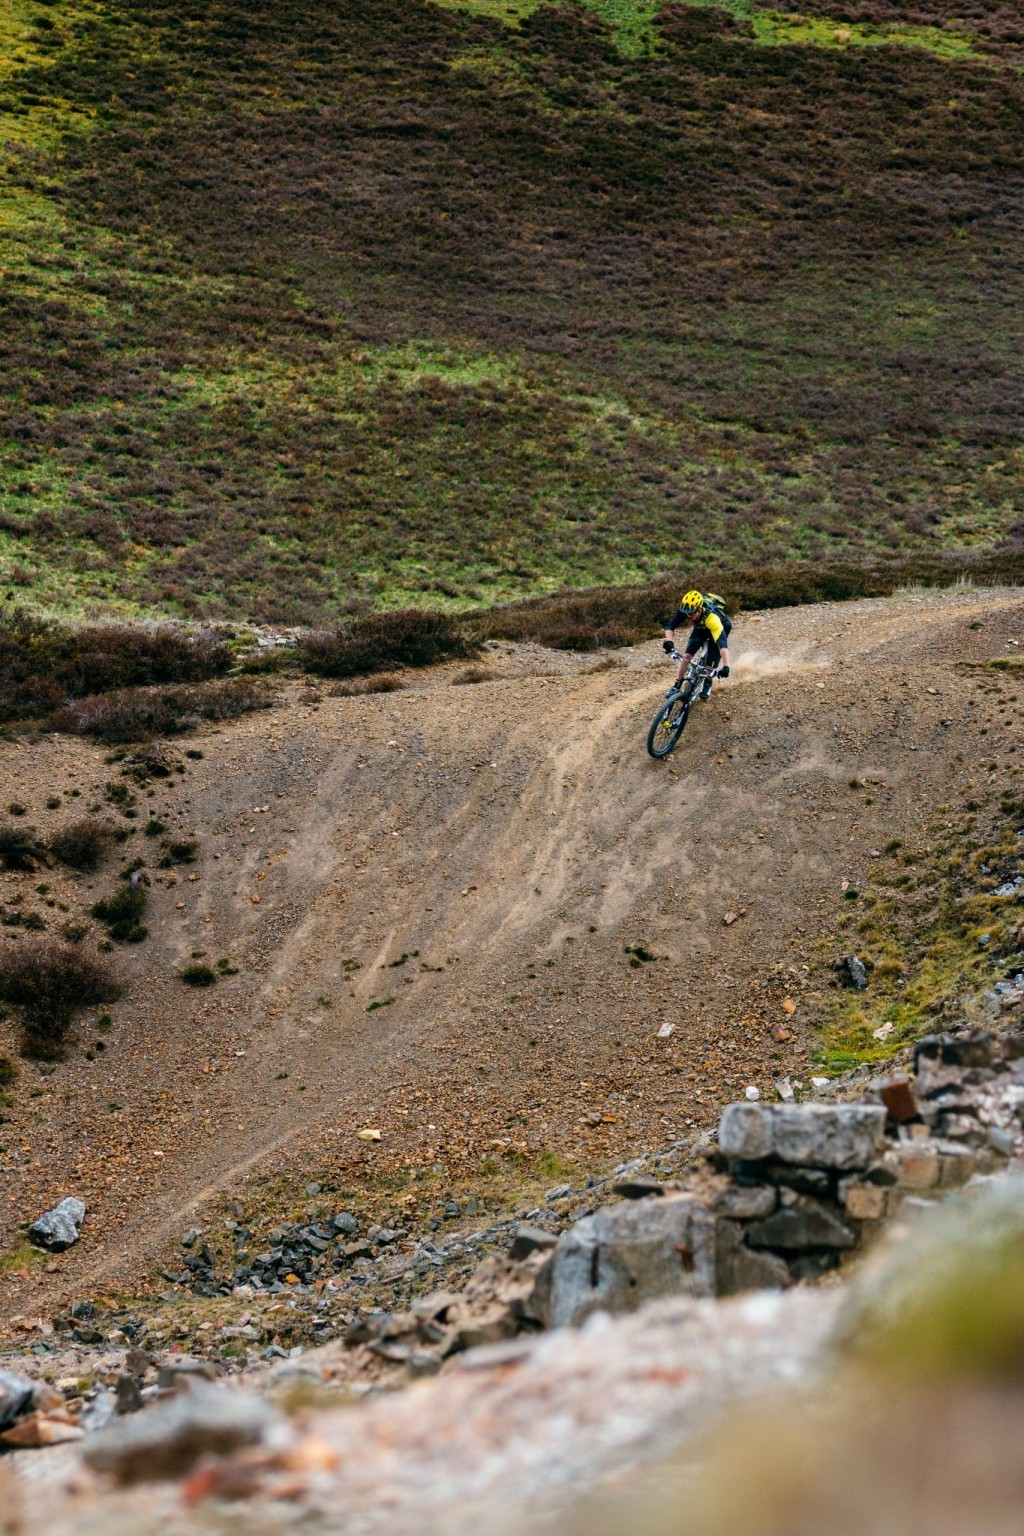
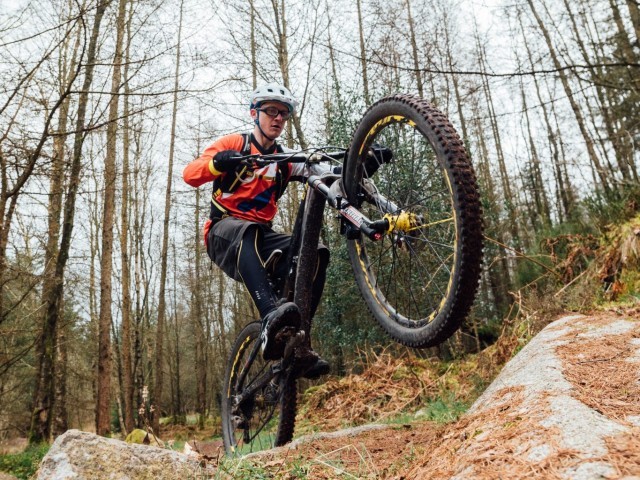
Back to measuring up the trail ahead and reading those more feared shapes of a tight transition. Looking at the transition and face of the jump we should be able to see how much use the trail has had and just how much compaction and consolidation has been made in the material of the jump from who has gone through. If the trail is ‘dished’ out (looks like a groove has appeared where the ride line is) then we can suspect that the transition has also been ‘pressed in’ to the pile of material that forms the jump (obviously this goes out the window with concrete, metal and wooden built ramps). This compression from bikes pushing into the transition and face of the jump is what sucks the bike in, a momentary stall is followed by a release of energy (body may compress if limp, bikes suspension compresses) and we get ‘spat’ out. This can mean a release away from the face of the jump (up into the air) before we have passed over the lip. The bike may snap or buck up out the jump and the legs need to be ready to absorb this energy. We use the legs to absorb the bike bringing it up into the body punching the bar upwards and outwards simultaneously creating the same sort of shape we make when bunny hopping.
This telltale worn dished trail may also have other wonders hid within, lumps of rock protruding will further unsettle the bike and may kick the wheels so the bike leans or the bike moves sideways. We have to pre-empt this and us our limbs to move and steer the bike back on course. Braking bumps on the lead up to the transition may also unsettle the bike and can lead to phantom launch points from the jump face rather than from graciously flowing out off the lip. With these tired and worn features we have to be mindful of what happens on the landing; more unruly rocks, roots and earth can have you bulldozing your way down the trail if clipped on your return to earth.
Moving on from textbook tabletops we can size up some other shapes and consider how to approach getting some air time. Double, triple and quad features can be ridden in a similar manner to tabletops. On these features the centre has been removed (or truncated the feature into small rollers or pump bumps) which can be unnerving, the penalty for coming up short is much greater, the dreaded ‘hang up’ or ‘case’ is usually followed by being moved out the front door by a bulky flight attendant from OTB security. An Over The Bar incident is quite likely and very unwelcome. Yet having any thought, concept or aim of potentially not jumping far enough to make the landing spot means we have had an issue long before it’s time to grab a tissue. I’m talking psychology now folks and the difference between bringing your ‘B’ game to the ‘A’ line or your “A’ game to the “B’ line.
Having doubt and being half-hearted in your approach to any jump feature is a sure way to take a beating and come out bleeding. Our aim, both physically and mentally has to be that of complete success, shapes matched (take off and landing) to perfection, not just in one linear plane but in full 3D. After all, trails are rarely perfectly uniform, flat and straight with lips lined up perpendicular to the direction of travel. We are for sure going to have to throw some shapes and move the bike to get it pointing the right way and set up for the next feature. Working the bar (steering, lifting, pushing), kicking across with the feet, twisting the hips are all required from the body, but the mind has to visualise the flight path before we can get the dancing started.
The B Boy action really begins when we move onto step down, transfer, hip jumps and any combinations where we need to change direction either through, before or immediately after the feature. As part of the process in learning the shape-making required to ease your way through these types of trails you can start off by taking a look at the feature in more detail, here you can build a mental image of your run through the jump, you can assimilate the shape you will make with your hand out-stretched moving. Then take this vision and think about how your arms and shoulders are going to move so as to make the right shapes, maybe you need to bring some legs into the equation, again we can visualise this as we sight up the jump.
Give yourself ample run in, leave nothing to the last second, we need to be relaxed, neutral and ready to flow through that take off. Any last minute braking or peddling into the jump won’t give you time to settle and be ready for the forces and shapes needed through the transition. Ready, relaxed, rolling is what’s required. If you come in towards the feature and think you are not carrying enough pace, get ready to either over egg the technique to get added lift and amplitude/distance, or to bail out and scrub some speed by braking hard so as to roll through the feature. On the flip side if you’re coming in too fast Striker, either have a light grab of the brakes and/or get ready to suck up that bike and squeeze it back down into the landing zone. One thing is for sure, that if you tug at the bar or stay stiff in the legs you’re going to get ejected or be riding it out by the skin of your teeth, you only have to watch the ‘fail’ footage to see this in action.
Jumps and jumping have come a long way since that crazy American guy took to the sky on a Harley Davidson in the 70’s with his ramp-to-ramp dare devil performances. You don’t have to emulate the finest freeriders on the planet you simply have to do enough to satisfy your own calculation of risk vs. reward. However, I can assure you that the hard effort and time invested in learning to take on various jump shapes is well worth it in the long run.
We will be back to advance your skills in the next issue as we move on from core work and start to push the envelope with our series of progression sessions. If you have missed out on the earlier features then click the ‘Latest Issue’ button and select ‘Back Issue’ in the drop down to play catch up - the core skills series started in issue 47. Keep having fun, and see you next time.
This technique article was in Issue 59 of IMB.
Related
By Clive Forth
Clive Forth is a rider who has been there, done that, got the t-shirt and cleaned his bike with it. He has grown with the UK scene and technological developments for the last 30 years and has competed at all levels in all disciplines riding for some prestigious brands along the way. Always looking for that extra edge with endless passion and drive he is geared up to bring you the inside line on all aspects of mountain biking skills and technique.


