All The Necessary Skills
Technique / Skills
Introduction
It is true that I questioned to a reasonable degree what I was doing heading North at the crack of dawn, from my house in the Surrey Hills, home of some truly fantastic trails. After a month of 60+ hour weeks, averaging 5 hours sleep a night, the prospect of the two and a half hour drive ahead of me through rush hour traffic to the flat lands of the Midlands was not sitting well. I was not really expecting to find much in the way of a trail or scenery that would make for a great technique feature, nor relishing the thought of driving a 250 mile round trip to ride an 800 metre loop.
A cup of burnt coffee and an overpriced breakfast bap later and still I hadn't shaken off my bigoted, narrow minded outlook. Even the sight of Ian's smiling face as we pulled into the car park failed to work its usual magic. Heading out across a vast expanse of concrete that is our National Exhibition Centre's car park I asked 'where's the trail then'...'over there in those woods' came the response.
I'm a country boy and looking around could see nothing I would describe as woods. Inside I was thinking it looked more like a scrap of scrubland where you would see a forensic team hunting for clues after the discovery of a dumped body, rather than where we might find a decent, let alone rideable, piece of trail.
Then I remembered two important facts. Firstly the trail was built and designed by an unsung legend of MTB, creator of what was the first of the UK's purpose built trail centres and more recently pocket parks and urban trails, up and down the country. Secondly that you don't need 1000 feet of vertical descent, 6 foot drops, and two story berms to learn new skills or develop and polish existing ones.
I must apologise for my grumpy state to those that experienced it. Sometimes it takes a while to wake up and open my eyes! Hopefully I can spare all the readers who plan to check out the greatest bike show in the UK the need for the same apology as this issue we look ahead to the test track at 'Cycle' and what it offers. Section by section we will identify some key skills to consider, develop and then apply whilst you are enjoying the loop itself and the offerings that 2013 will bring to a bike shop near you.
At first glance the test track at Birmingham's NEC might not strike you as the most challenging trail that you have ever ridden (and for many it wont be), but that does not mean that it is somewhere you can neither develop skills or put existing skills to the test (and have more than a little fun along the way). If you don't think this trail is fun the chances are that it has more to do with overblown delusions of your own ability than the trail itself or the bike you are testing. To carry speed without relying on thrashing limbs and heavy braking, to ride it with lower input and maximum output, flow and rhythm, this little loop requires some pretty tidy skills (and not just the latest model from you're favourite bike brand). There are sections that may humble you and have you grabbing brakes mid-section, losing grip and lacking flow. If this happens don't take the easy option and go blaming the trail, its design or your bike manufacturers' choice of tyres, look closer to home.
Some riders mistakenly think that is by riding ever more technical terrain at ever-higher speeds that they will get better. The truth is of course that you need to first get better then you'll achieve higher speeds and succeed in more technical sections.
How many of our heroic Olympic competitors, medal winners or not, got where they are by starting their training on state of the art tracks, gyms, pools or other sporting facilities? The likelihood is the foundations of the skills and fitness that take people to the very top are developed miles from Olympic Stadia in terms of surroundings, (not 10,550 miles in distance though, it would seem!).
The fact is that not much new can be learned from riding trails which are approaching your current maximum ability in terms of terrain, apart from maybe where your limits lie. Yes of course you need to apply great skills when you are pushing your personal envelope, but skills are best advanced and techniques learned and refined, when you are not at the limits of your comfort zone. Teetering on the edge of flight and fight responses may give you a boost of energy (albeit the nervous variety) but how many soon to be Gold Medallists where operating in this state as they lined up for their shot at glory? True champions seem to exude an inner calm as they step to the mark, safe in the knowledge that they have done the hard work and now is the time to harvest the fruits of their labour. Peak performance is the culmination and outcome of all their hard work, training and learning but not an integral part of the learning or training itself. The same is true of mountain biking at whatever level you pursue it. Good results rely on good skills and fitness. You won't develop these skills riding terrain or speeds that reflect your very maximum in terms of performance, but you sure as heck will be needing them to do so.
Try to develop skills on terrain too technical for you and you will be thinking more about survival than a specific area of skills development. Surviving such terrain may boost your confidence but won't necessarily make you a better rider.
Skills breed confidence; confidence allows you to stay in a controlled emotional state as terrain gets more towards your upper limits. You can apply 'learned instinct' (skills) rather than 'gut instinct' (flight and fight responses).
Although some riders view staying on the bike as a great sign, this really must be considered the lowest possible parameter when calculating your level of success and progression. Without the right skill set, not crashing is more a result of good luck than good judgement or good skills.
Luck is finite and ultimately it is not sensible to rely on it alone.
You may go to the Cycle Show at the NEC purely with the intention of checking out the latest innovations and designs that your favourite brands have developed in the last year; to be sure you won't be disappointed on this front, take them to the track, give them spin, but remember a new bike may be more forgiving of shortfalls in the skills department and make you feel better about your riding, however this does not necessarily equate to you riding better.
When you head to the track to put a great bike to the test, do it, and the track, some justice and think about riding it with greater finesse and get more from a great little piece of single-track that packs more of a punch than you might expect. To carry good, smooth speed through this trail won't just be a test of the bike but the rider too.
The videos and words to follow will give you a step by step of the sections that knit together to make the trail and there are reminders of the core skills that will make for a more fluid approach to riding each section.
In outlining the sectors of the trail, the sections that make up each, and the skills that are most worthy of consideration we hope you'll have as much fun on the track as we did and ensure that even if you don't leave with new hardware, your operating system will be upgraded!
Sector 1
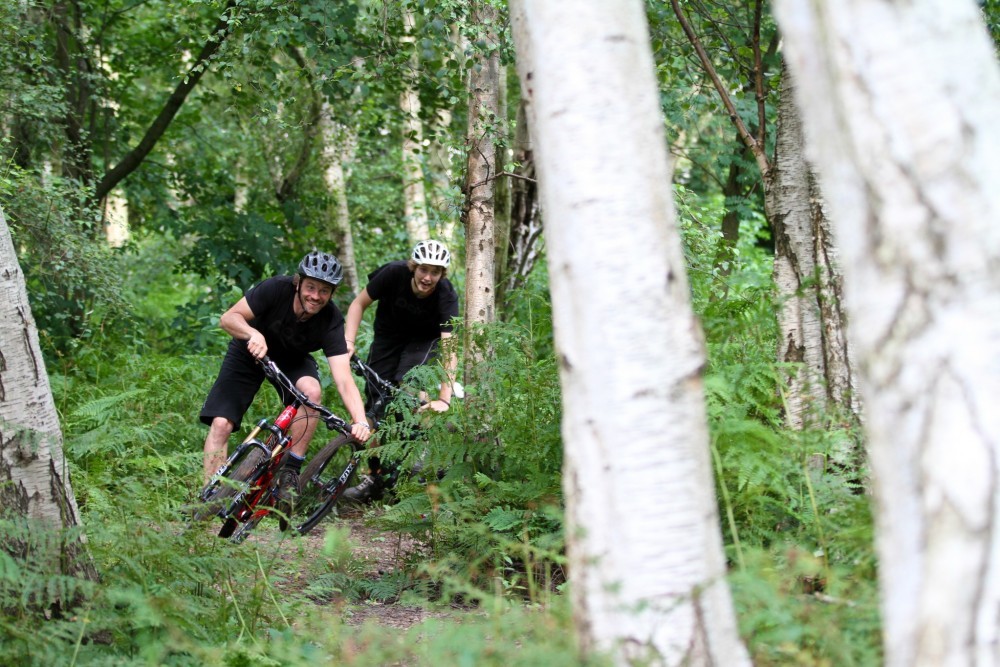
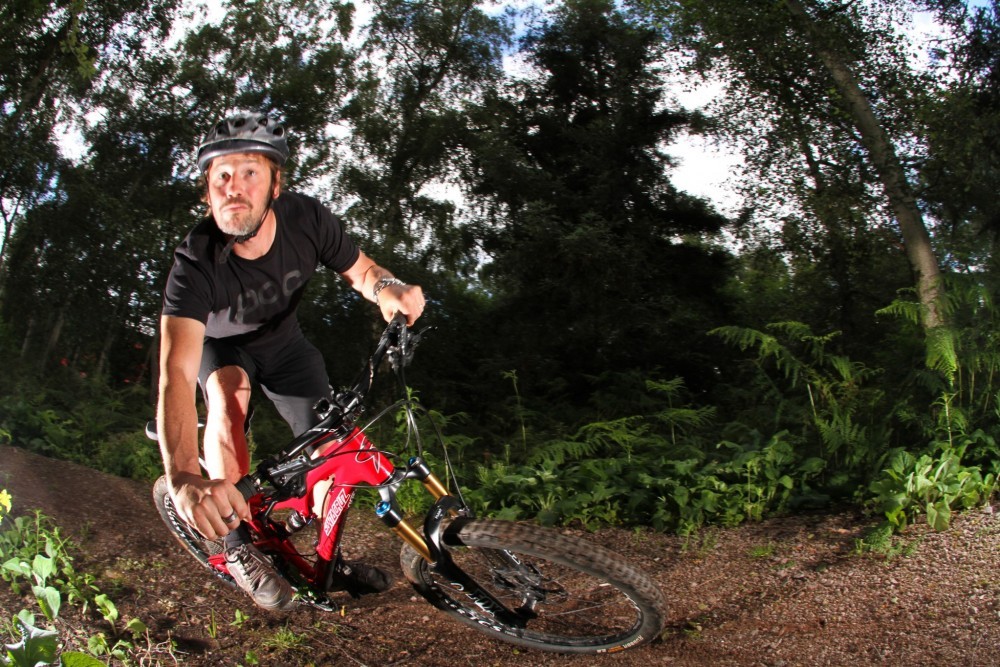
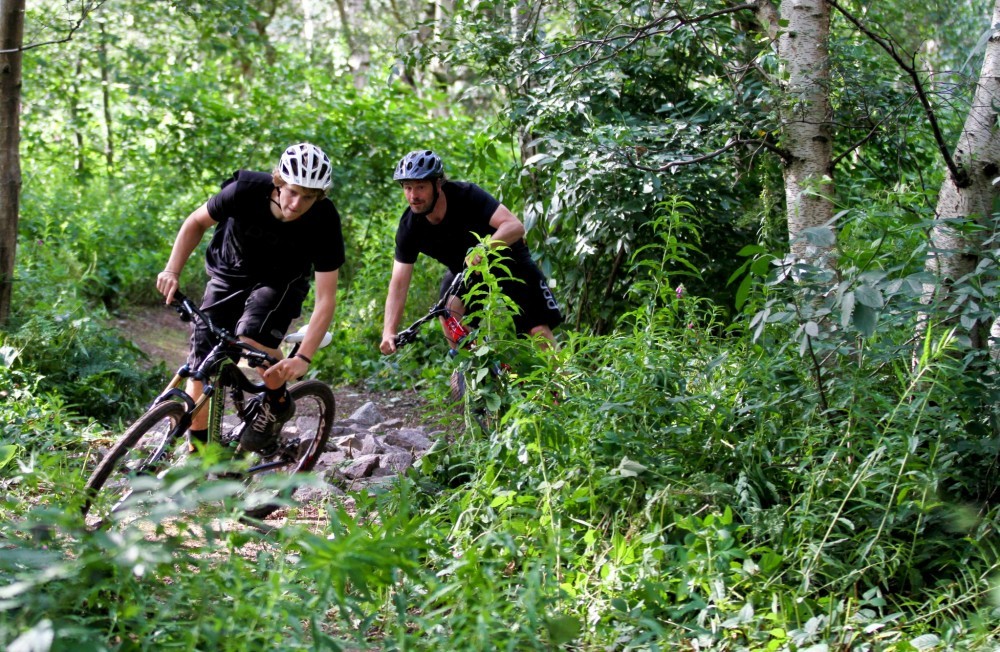
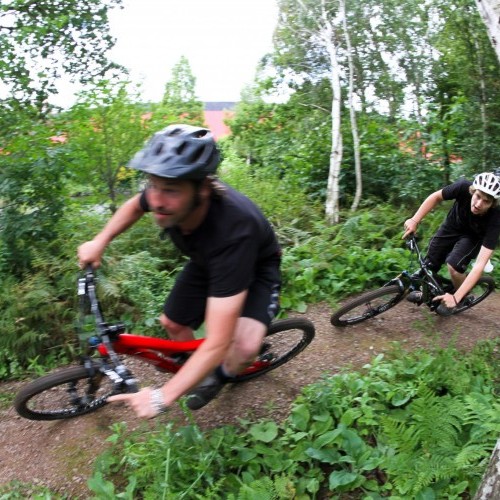
After a short jaunt across the car park where wheelies are of course the order of the day (and the most likely place you'll ever do one) you'll be greeted by the first section of freshly buffed trail. A couple of pedal strokes and the trail starts to wind its way through a series of slight left and right hand sways. Keeping it simple in this first section as you tune in to trail focus on the basics of keeping the head up and spotting the furthest point on the trail you can, thinking as far ahead as possible.
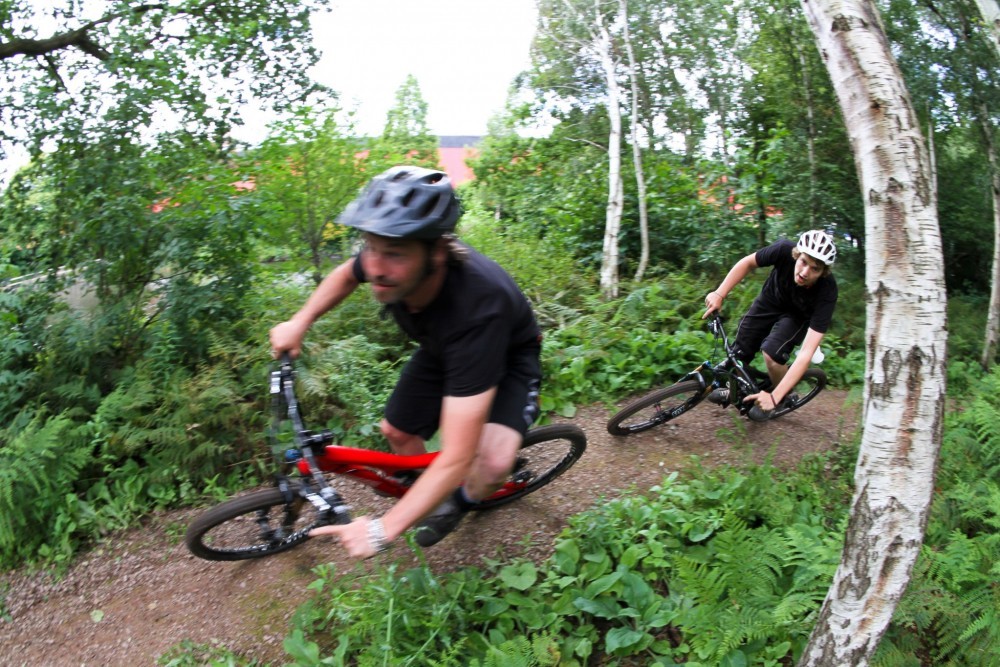
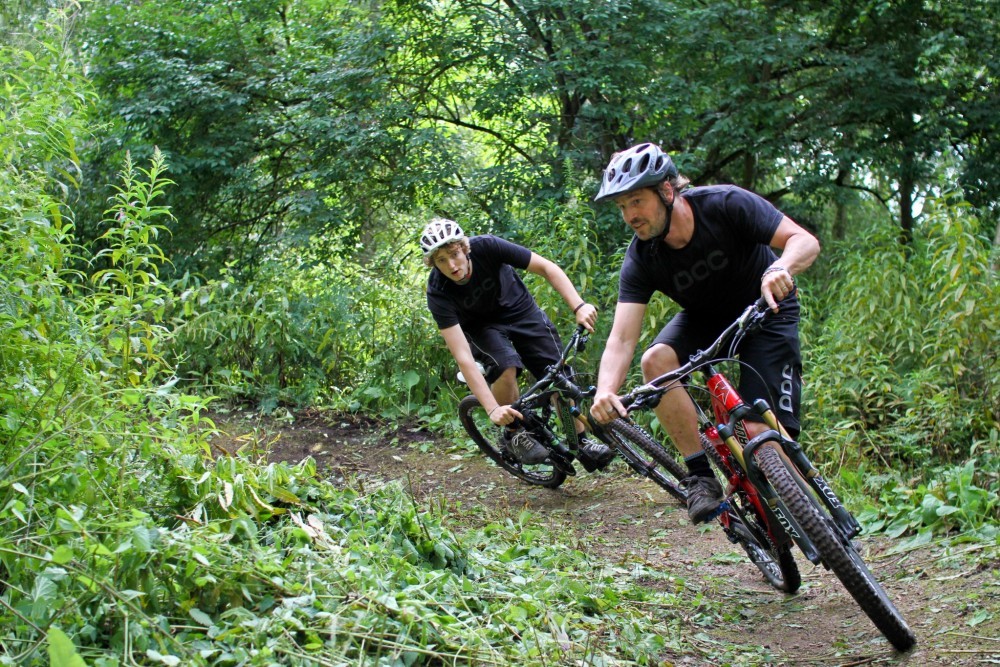
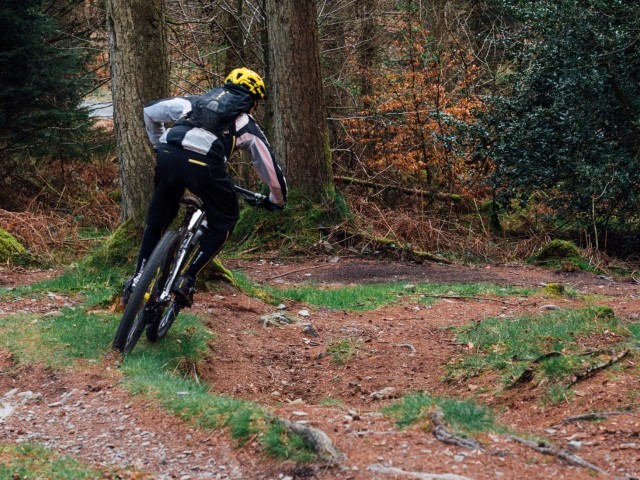
Timing your pedal strokes so you are weighting the outside pedal even through the smallest of turns is a good habit to get into. There are a couple of longer corners before a tighter left and then right. As with all corners try and look through them to the exit, stay over the centre line of the tyres as you lean the bike into it each corner, stand heavy on the outside pedal although keep some flex in your standing leg, try not to lock it out or be tight in any way.
Sector 2
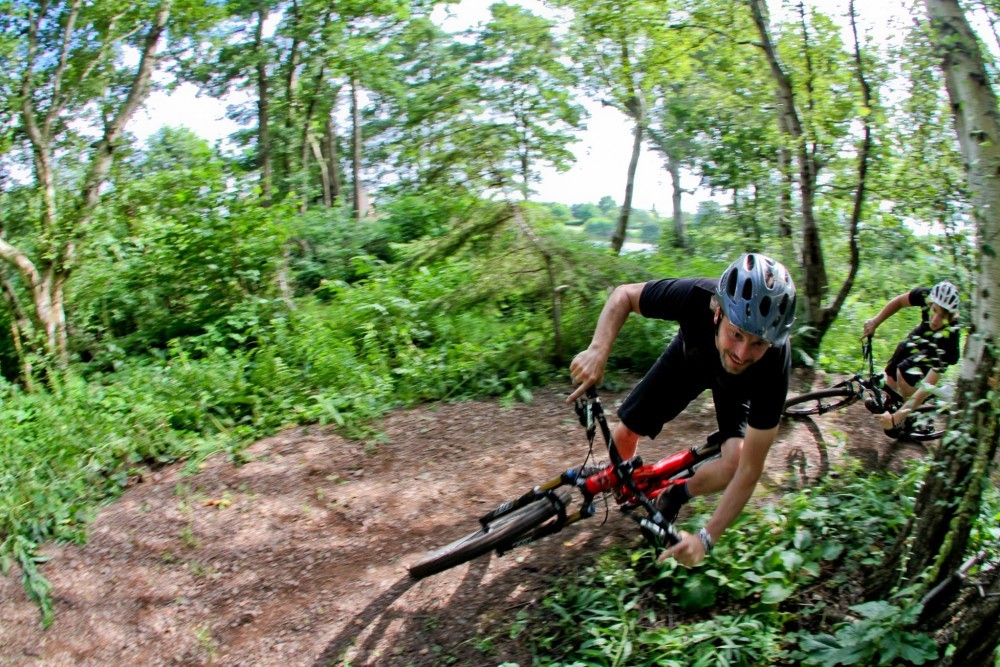
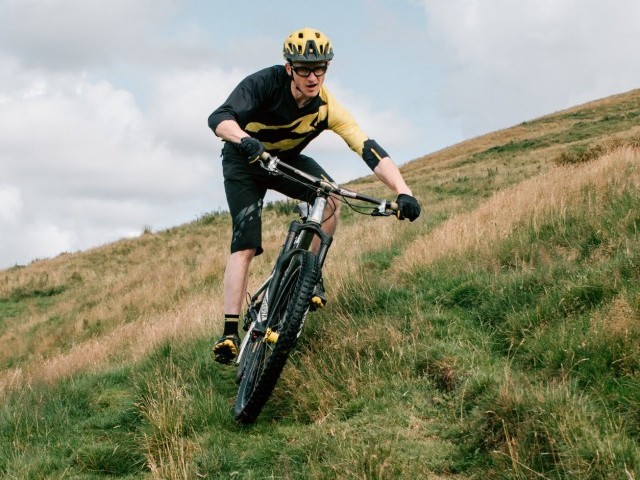
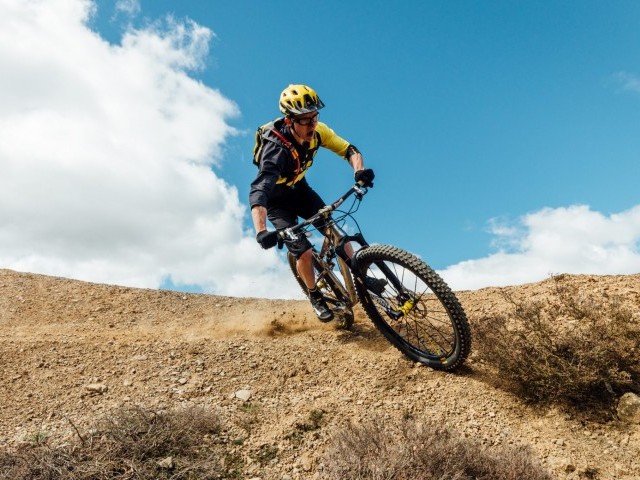
A longer bermed corner brings views of the lake as you approach. Don't look to the soup! Look through the corner, you can use the berm to help carry more speed but don't level pedal it. Dropping the outside pedal will create more grip and allow for a higher entry speed that can be carried right though the corner. A short straight away from the lake and it is into a tighter right-hander. Prepping up as you approach this one bring your left foot to the fore ready to drop harder and faster than previous corners. Twisting the hips more sharply you'll need to follow the same rules as a less tight corner, but apply it all in a shorter time frame with more vigour. A pedal turn or two may be squeezed in before you reach a very small step in the trail. You could of course pedal straight over this, but use it as a chance to practise the 'push through' technique to land two wheeled. A quick drop of heels and wrists at any speed with the slightest of rearward hip shifts will allow you to get a perfect two wheeled landing avoiding the bike rotating forward at all. O course there is nothing wrong with rolling it and allowing the front wheel to land before the rear. The step is very small. You can easily get by letting the wheels roll and doing little else. If larger steps are a problem, where simply rolling down them is not an option, practising your drop off technique on a curb sized drop is as good to hone skills with little or no penalty of failure. It is a good place to concentrate on individual skills that make up the technique that will serve you well. Remember no pulling up your heels, and wrists should drop not rise. With little energy to absorb, landing heavy is not going to be an major problem but aim at a soft quiet landing here and you know that your energy management skills will allow you to comfortably start to increase the size of drops you ride on other trails. Staring down the barrel of your forks is a definite no-no.
Section 3
Having accelerated through this section a couple of humps to pump and you are into a short almost hairpin bend and then straight into a nearly as tight left. Too hot in the entry to the first corner and you'll decelerate through the section as you run out of trail. These two sections overlap the exit so the first is the entry to the section, for speed and flow you need to be thinking not only of the skills employed earlier but also in terms of speed control, where to do this, and in terms of entry, section and exit. This will hopefully allow you to accelerate round the left-hander.
Section 4
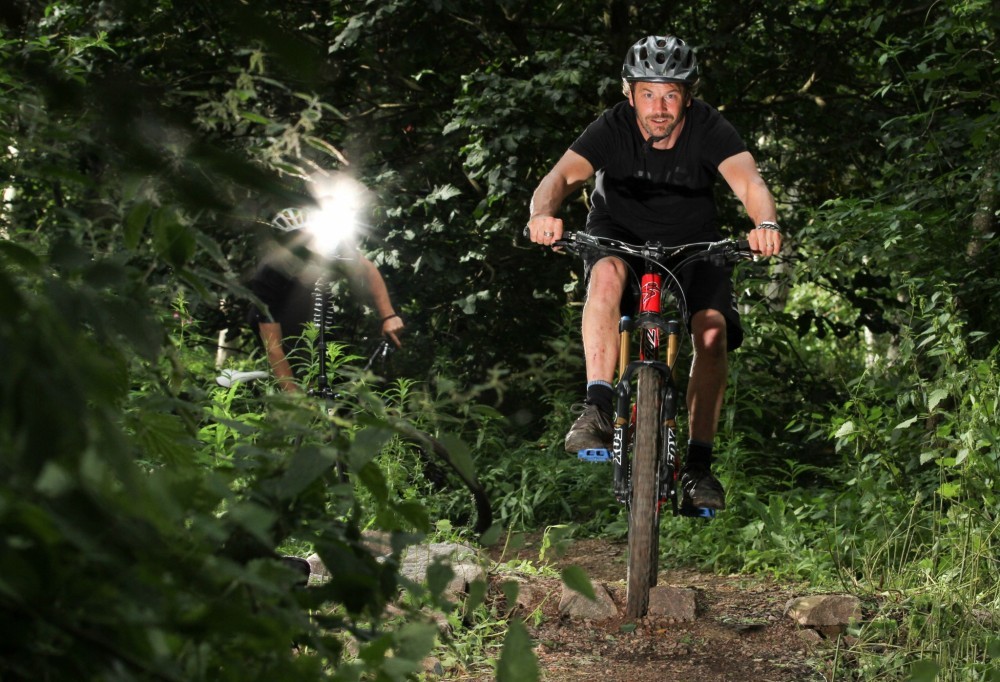
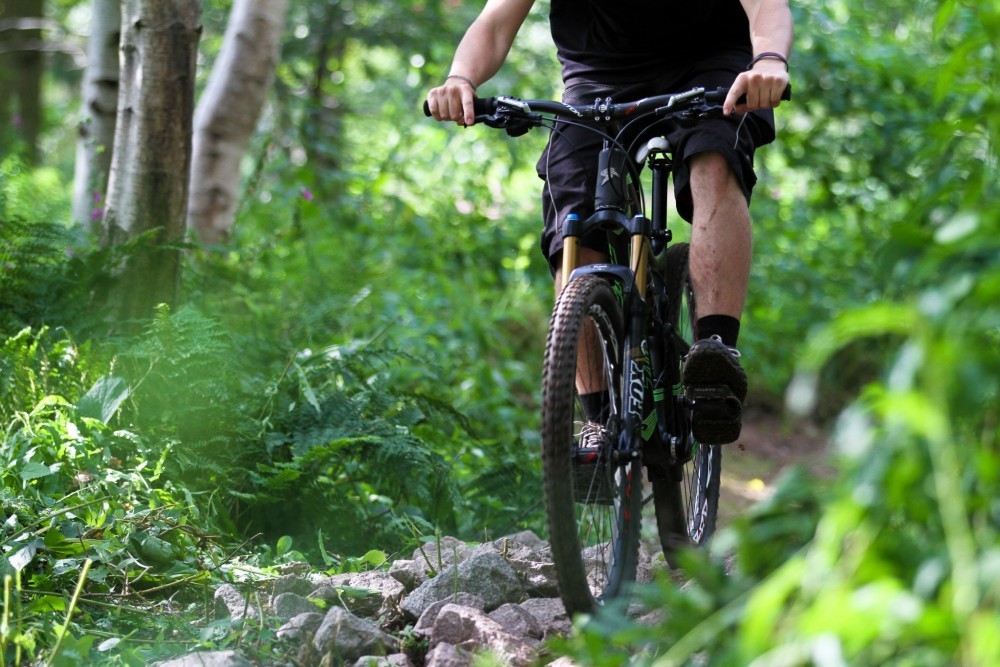
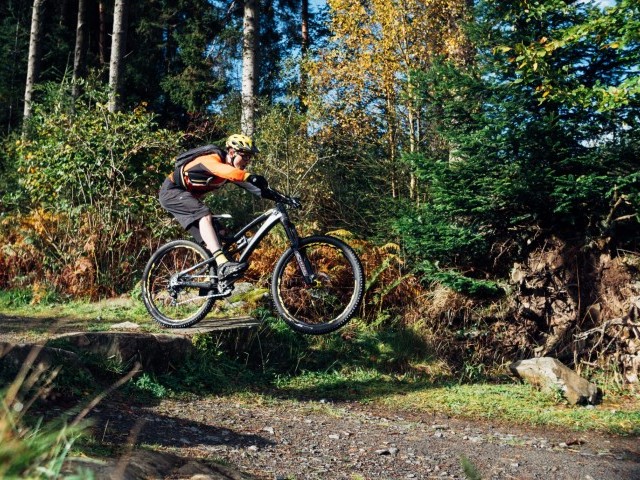
Having held your speed through these over-lapping sections (at the least) it is into a near straight section with a couple of little right then left chinks, before a more defined left, right, left series of corners. The corners are slightly bermed allowing for more lean of the bike and thus more pump and acceleration through each. Following this line will by pass the small rock garden. If you are taking the rock garden in (to be fair they ain't baby's head sized boulders), three key skills will be looking, footwork and energy management. Rocks can be a visual performance cue and watching your wheel over each is a bad habit to get into and one that is hard to break, spot your line early by looking through the section. As well as a visual performance cue they create more in the way of input (another potential performance cue). Heel drop ensures that as the trail pushes the bike up, your contact is firmer on the pedal. Toe down and any upward movement of the bike will encourage you to start to over rotate, rather than pushing the bike to you you'll be pushed away from bike. With dropped heels you will feel more connected rather than risk being ejected. If you feel more secure you will relax more and thus suck up more of the trails energy, in turn allowing the bike a smoother passage through the section. Being bounced off your pedals will cause you to tighten up and the effect of the input will be magnified.
Section 5
Out of the rock garden and you have short straight into an even but over 180 degree bend. It is easily a long enough time cornering that a second glance to the outside of the corner rather than through it early may be tempting. As you exit you are into one of the shortest tightest frankly ugliest corners on the trail which can easily lead to washing out or braking hard or both. The trick is to apex the corner as early as possible and lay the bike over as low as possible, but without leaning yourself. You will need to work hard to get grip. A short straight and a slight left lead to a pretty tight left with a tree on the inside line that means if you lean with the bike you risk hitting your head . Push the bike over with your hands not your hips. As well as enabling a faster tighter line you'll avoid any necessary damage to the tree.
Section 6
Exiting the corner a couple of rollers can be pumped into the next bermed left hander. Pumping hard with arms then legs over each roller will allow you to pick up pace. Think hands to feet in terms of pressure. Shape and time your pump to the shape of the rollers and the speed you are going. When it comes to pumping rollers feel for it don't look for it. Mistime the pump and you'll slow down rather than speed up. After a short straight it is into a lightly bermed right hander with more little rollers on the exit into a left. More rollers to pump and you are fast approaching a small table with a final left hand berm leading to it.
Section 7
Once again speed control is vital as is good energy management.
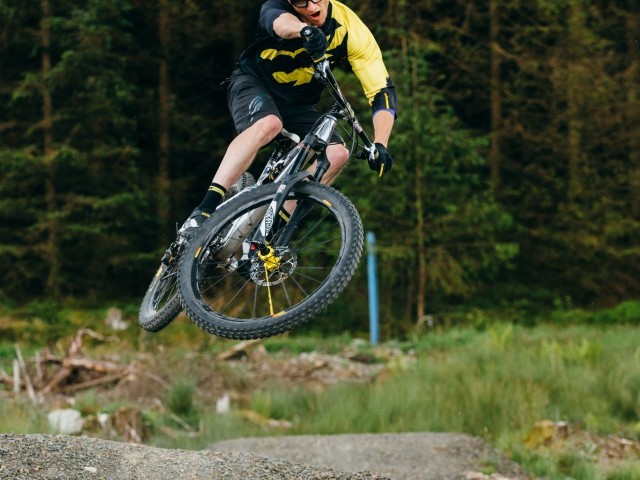
Carrying speed through the berm before the table is crucial. A powerful pump as you ride the upslope and you will clear the table. Good footwork and a little pump through the berm and with a quick pedal stroke you will be able to get the required speed that (with a little pump of the lip) will allow you to clear the small table-top. As always yanking up with hands or feet (clipped in or feet curled round pedals with a dropped toe) is not a good substitute for good technique and you risk over rotation and too heavy a front wheeled landing. Front wheel slightly first is desirable, but not with you overtaking it! Rely on push not pull to initiate lift. The reward of getting the table right, pumping in, jumping, then pumping the landing is a long bermed right hander followed by more opportunities to pump into a left hander. A final long swooping bermed turn leads to more small rollers and back through a couple of flat radius corners to the start.
All in all, the trail has a great mix of sections and if ridden with good technique has plenty of flow. Because the penalty for getting things wrong is generally small don't fear exaggerating techniques. Stand hard on dropped pedals in corners, compress the bike, tip the bike over plenty, but stay over the centre line of the tyres. Pump hard through undulations and lay off the brake levers mid any section. Commit to the exit of corners early. Hit the rocks at good speed but stay loose and don't look down. Have fun, but respect the other riders. The more room you give, the more you get. Wheel chasing leads to thinking in the now rather than far enough ahead and will alter the emotional state of the rider in front probably causing them to go slower.
Put 'Cycle' in your diary and come and see us on the track or on the stand. Enjoy the bikes, enjoy the show, but most of all enjoy every ride.
This technique article was in Issue 19 of IMB.
Related
By Richard Kelly
Richard Kelly has been riding bikes since forever, and teaching people to become better mountain bikers for over a decade. He’s always out in the Surrey Hills training riders, building trails and riding for himself whenever he gets the chance. His unique perspective on mountain bike technique has earned him fans the world over, with some speculating he is actually Jamiroquai or perhaps Jack Sparrow…


