Slip N Slide
Technique / Seasonal Riding
“You know the nearer your destination. The more you're slip-slidin' away.”
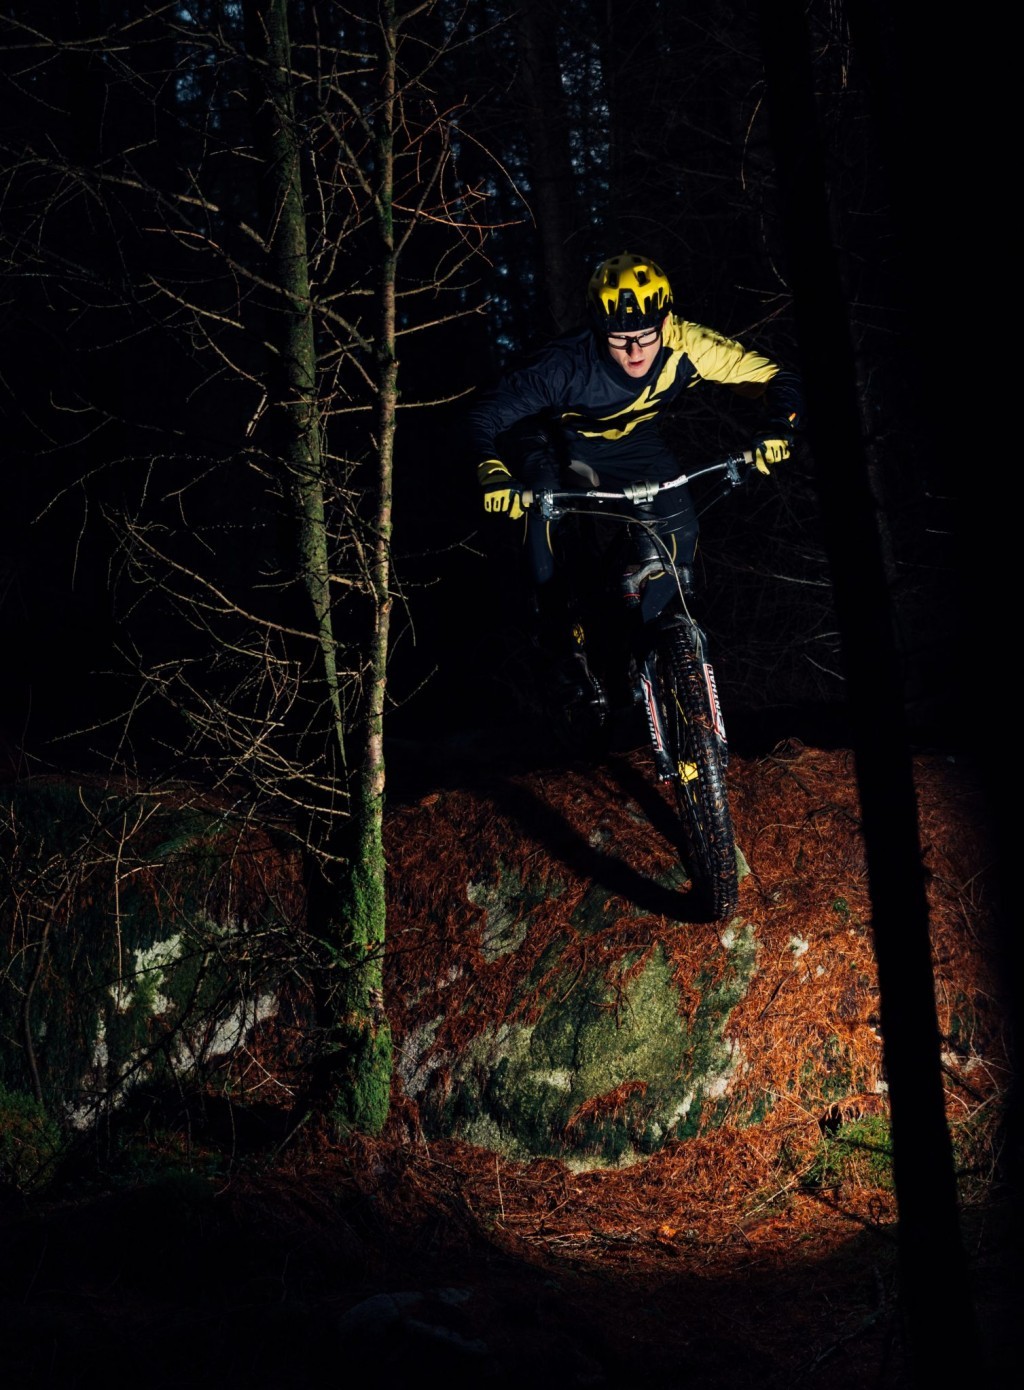
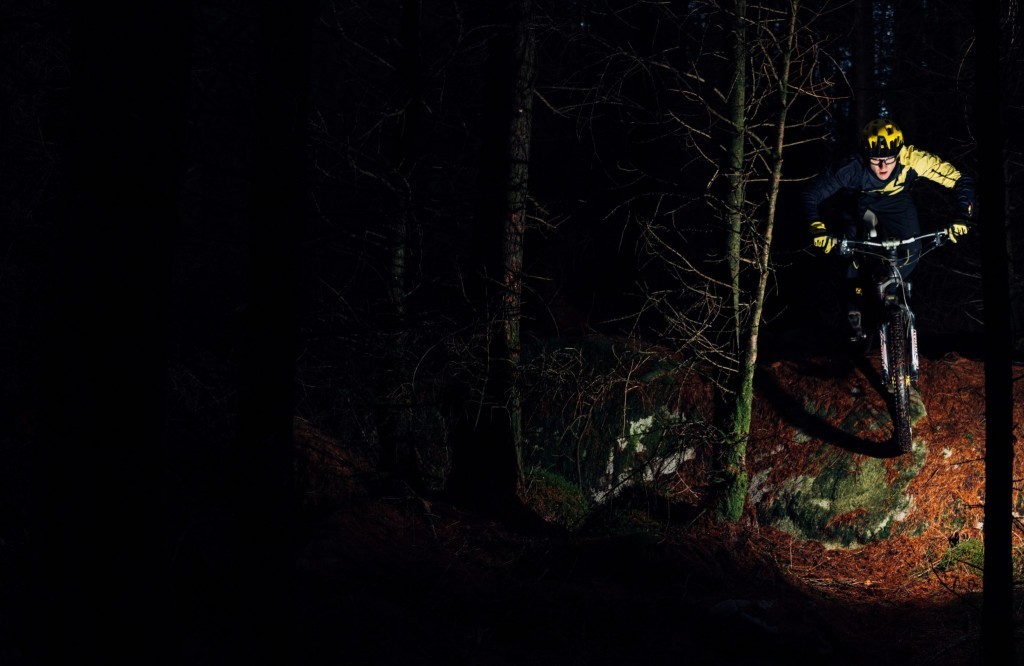
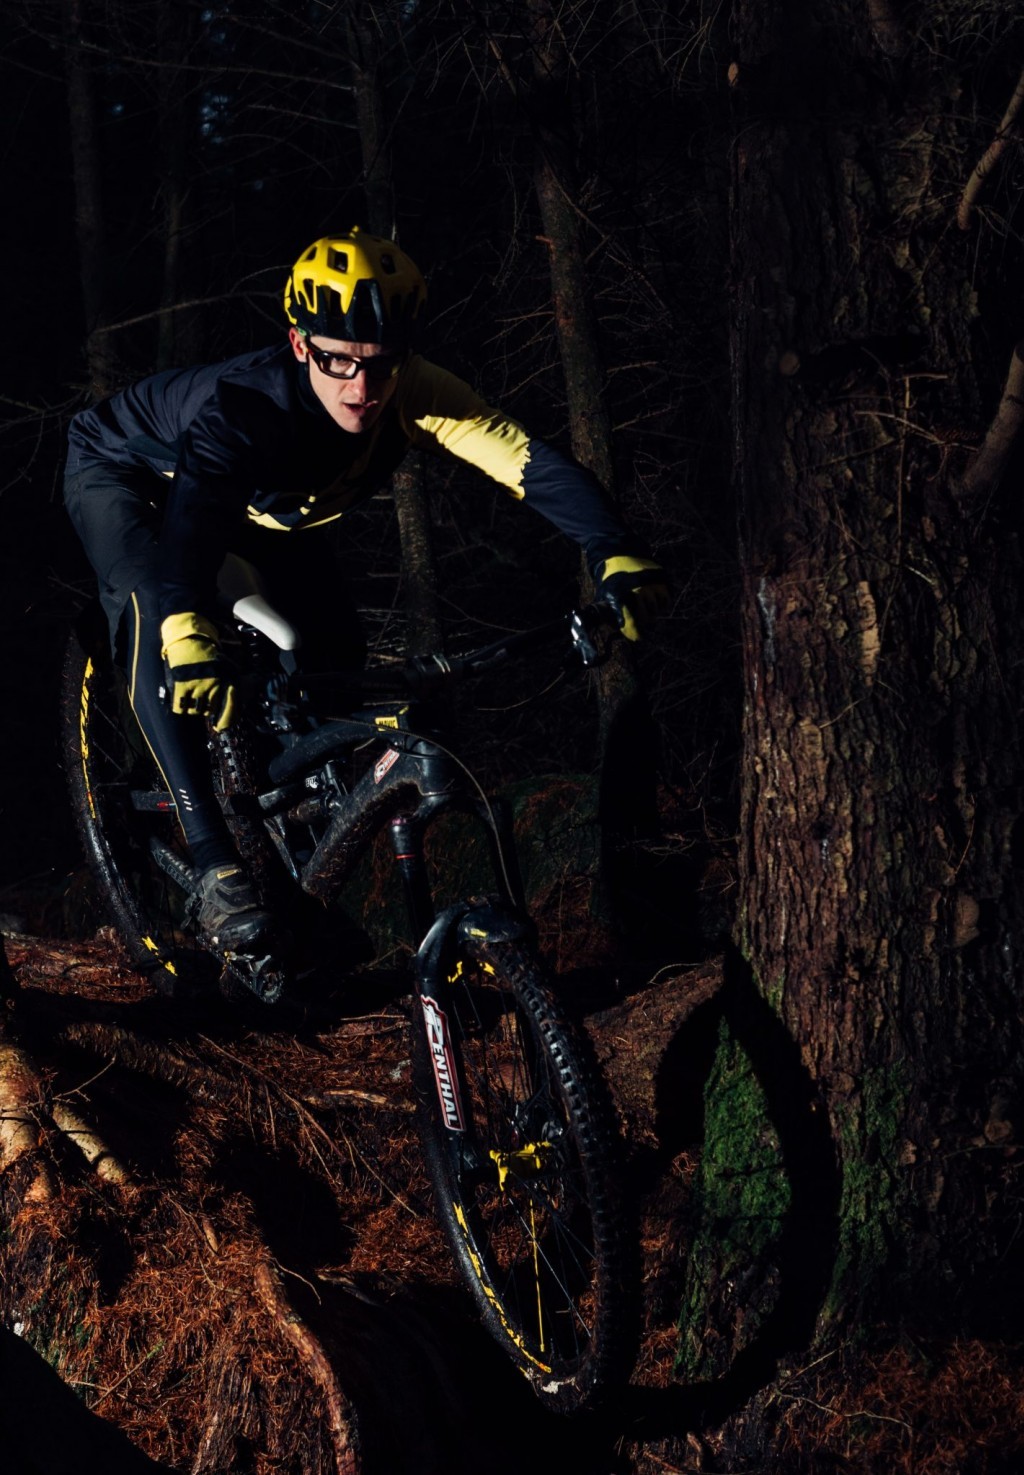
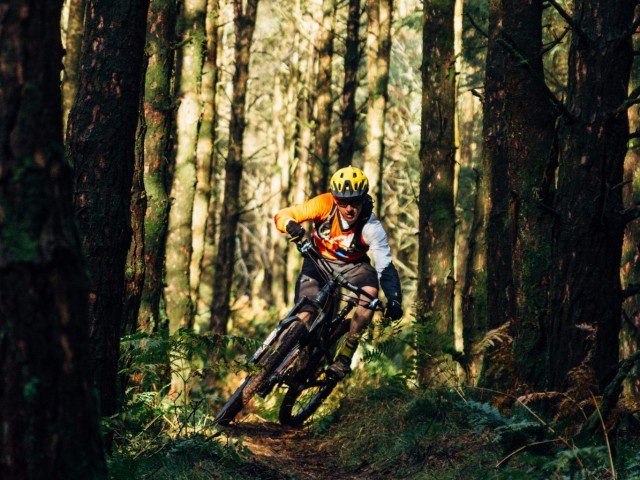
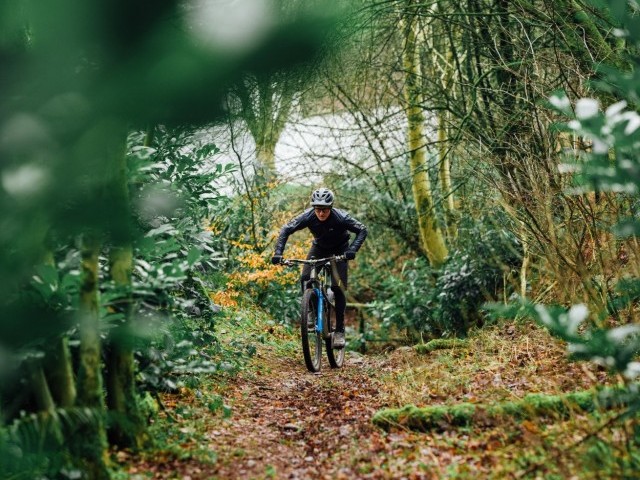
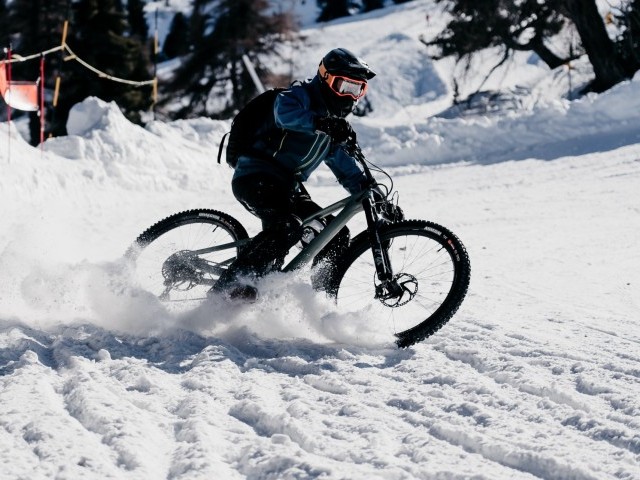
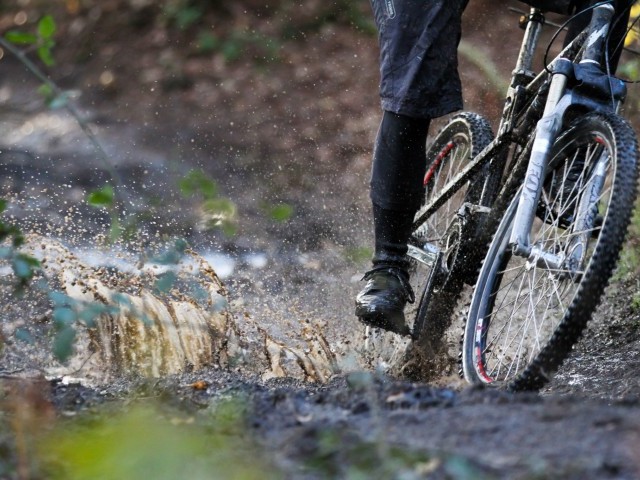
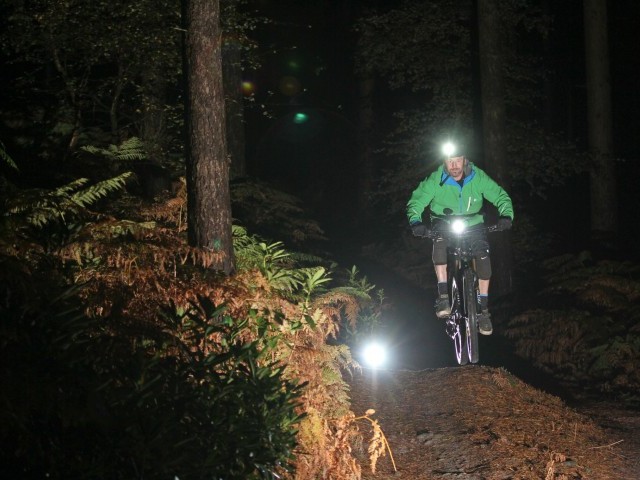
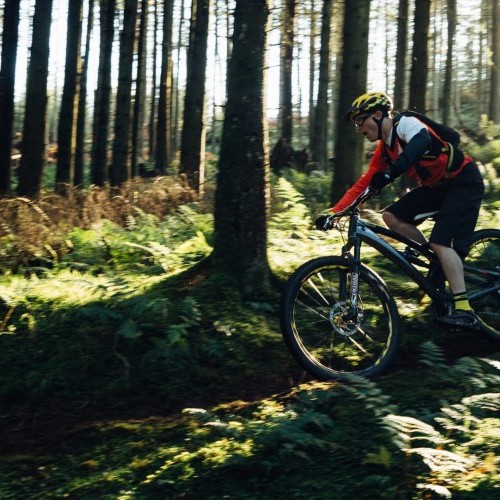
Well so say Simon & Garfunkel, but here at IMB, we see the slip-slidin' as a sign of life and vitality and not the end of days as the song may suggest. Winter riding is all about letting it hang out as we desperately try and get some grip, those ‘ice cream head’ frozen days and sketchy moments where your life flashes in front of your eyes really make you feel alive. However, there is no need to fear the odd sniper root and bulldozer manoeuvre, its all within your grasp, read on to get the inside line on how to get some traction for winter riding satisfaction.
Get Geared Up
One of the first things to address is our clothing choice, for us to feel relaxed on the bike enabling greater concentration and therefore control it helps to be warm and dry. Tights with splash guards and waterproof over-shorts are a favourite for when water is likely to be running down the trail, waterproof shoes are also a great help. However, if it's pouring from above or you are riding through deep and constantly running water for a sustained period, then you will discover the inevitable ‘boot seep’ (this is where water runs in from above). If the conditions are that bad then I prefer a lightweight waterproof over trouser, specialist cuts for cycling are less noisy than those designed for walking and they are also lighter, I can pack over trousers in the bag and swap out from my lightweight waterproof over shorts should the weather change when I’m out.
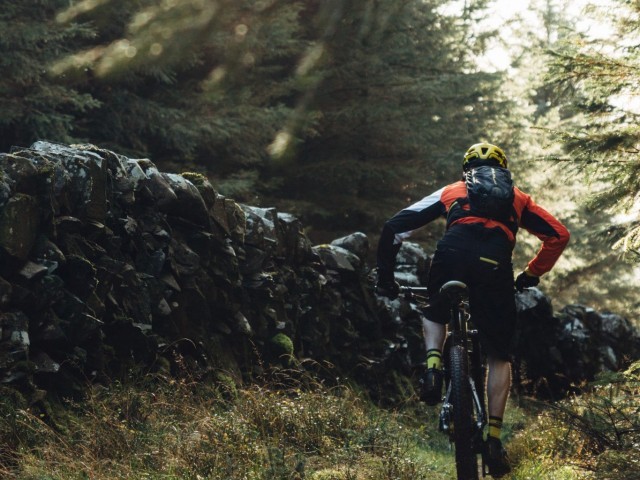
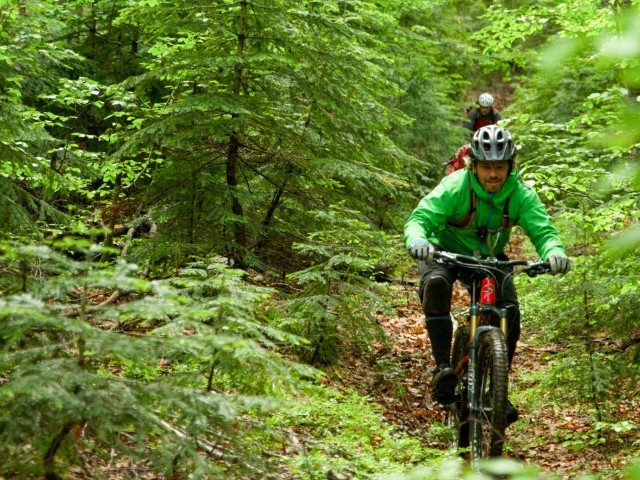
Some riders swear blind by using waterproof socks; I opt for merino wool when I suspect a dose of boot seepage is on the cards. The wonder properties of wool mean I still keep fairly warm even after a dunking. Up top, it is all about layering, a merino base layer for those sub-zero and cold breeze days or a lighter wicking layer with a wind-cheating panel in the front for days where the suns out but temperatures are still low. A tighter weave on the jersey (long sleeves for sure) and a lightweight windcheater to help keep the cool breeze out. I often ditch this and only put it on if I’m hanging around for a bit or about to drop a long descent. If it’s chucking it down then its a full-on waterproof jacket.
To help with that cosy feel-good factor, I use a neck scarf and have an array of headbands and skull caps. I’ll start my rides in a heavier wind and or waterproof glove then swap out once the blood is flowing for a regular long finger glove, a spare dry pair of gloves can be a good ‘pick me up’ on longer rides and can help you maintain control and stave off the cold. That’s the body done, on to the bike.
Bike Check
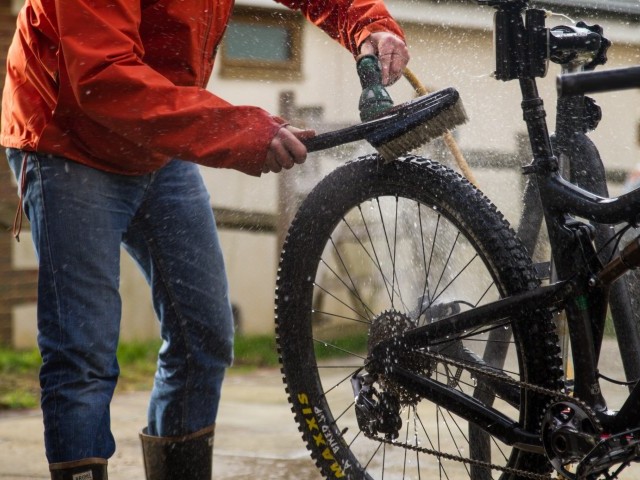
A clean bike is a fast bike, winter demands we pay more attention to our steed, and frequent washing will need more frequent lubricating. Try and store bikes in warm dry areas, no matter where they are being stored make sure you dry it thoroughly after washing and reapply lubricant to the chain, for shocks and dropper posts (any area that has a rubber dust wiper) a LIGHT amount of a silicon-based lubricant will help disperse water without damaging the rubbers. Be careful that the vapour cloud does not fall on your disc rotors, wrap them using a clean rag when using spray lubricants. Something to also be mindful of is that when lubricating these parts a minuscule amount of silicon lubricant will get dragged into the suspension seals and impregnate the foam wipers or pocket of grease. This will break down the oil or grease and may (in almost unmeasurable quantities) enter the lubricating and damping oil of the unit, hence the emphasis on LIGHT amount!
You may want to opt for a ‘wet’ lubricant to go on your chain, again use sparingly as excess oil will just attract more dirt and grit, the oil needs to sit in the round link/pin area of the chain and not all over the side plates and cassette. Let your chain dry before lubricating, or for those of you with more Gucci workshops you can clean it through dispersing water using an airline (a basic compressor and attachments will set you back around £100). You can use water dispersing lubricant around pivot points to help chase water away and leave a protective barrier against water, dirt and grit. I’ll grab a can of branded stuff (the blue and yellow one), spay it onto a cloth and wipe down the tubes of the frame and fork lower, this helps to prevent a build-up of dirt and muck and leaves the frame looking fresh.
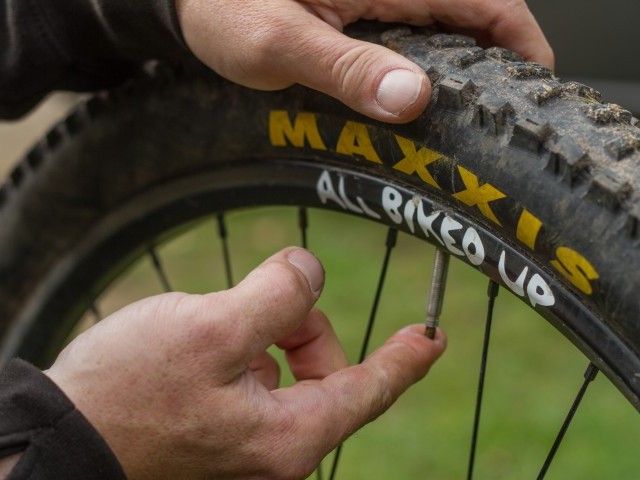
Other winter adaptations may include a mudguard or two, they help keep the moving parts of the bike and body dry although they are not to everyone’s taste. Tyres can be swapped for ones with a larger footprint and or knobbies, softer compounds are also a good choice for areas where slick roots and rocks prevail, but they are much slower rolling so choose wisely according to the terrain your riding. In the extreme, studded ice tyres are the only way to get grip. For wet soft ground, lower pressures can also help but be mindful if you are likely to encounter sharp-edged rocks and sizeable roots as you increase the risk of a pinch flat or rim dinger.
Skill Set
Clothing and bike prep sorted what essential skills will we need to have razor sharp to cut through the cr#p?
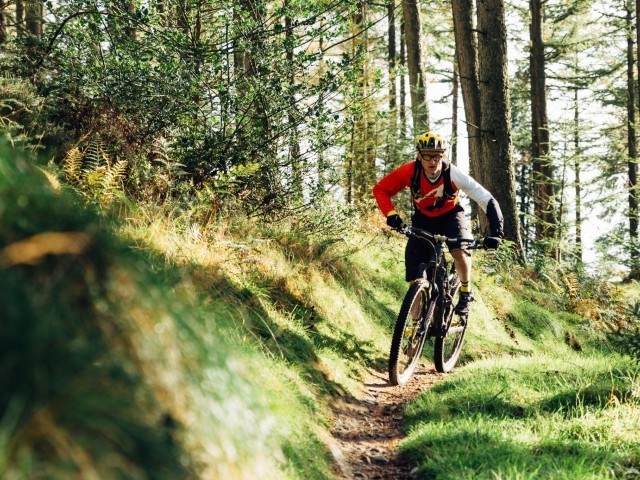
One of the biggest tools to help you overcome slippage is pressure; being able to use your body’s mass to ‘pressure’ through the bike and load the tyres more is going to pay off in cambered and cornering situations. Using pressure through the drive system to generate sufficient torque for traction while traversing and climbing is another key area that needs our focus. Try coming into steeper uphill gradients and technical passages just a little quicker and in a bigger gear to overcome, A) the added drag and resistance from softer ground conditions. B) to enable you to pedal a slightly higher gear than normal to get that drive and traction.
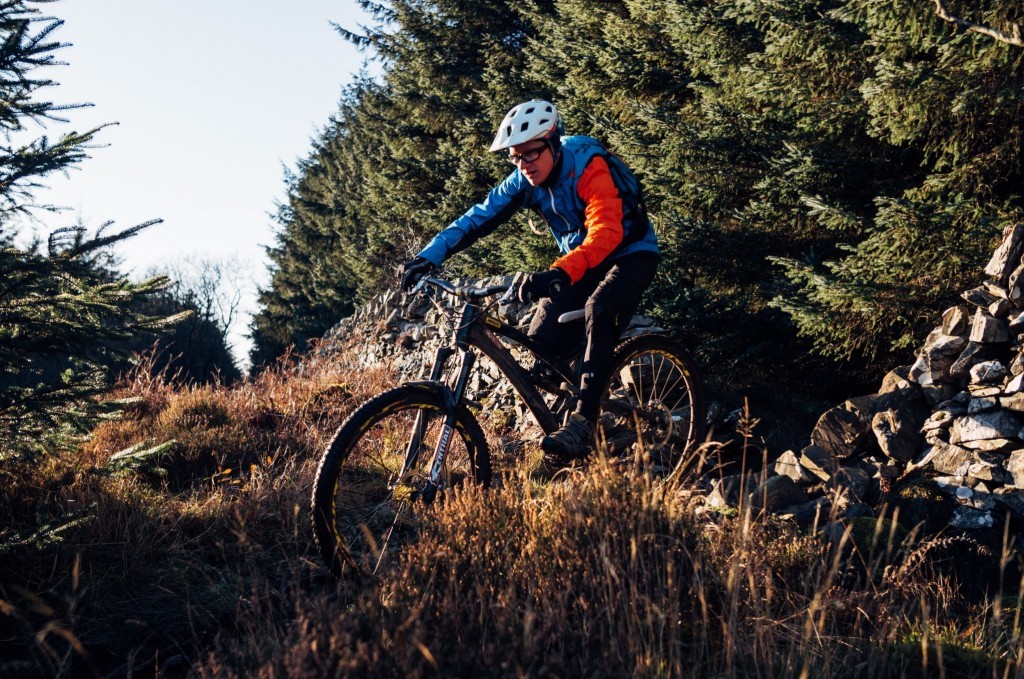
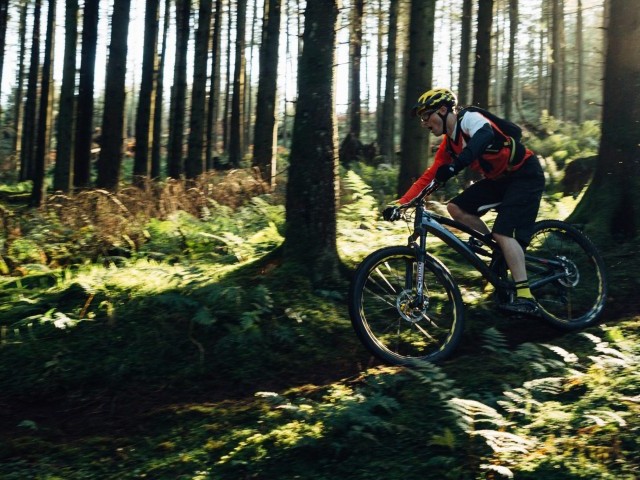
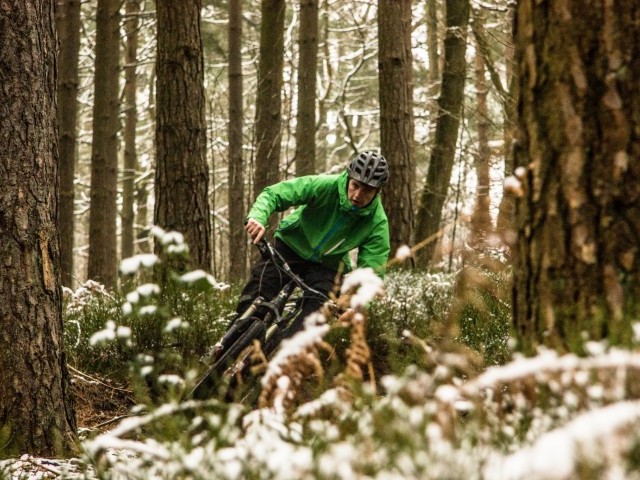
In the corners line choice and commitment are key, get that bike leant over with the outside foot down, and heel dropped, push on the bar (don’t pull towards the chest) so as to cut the front tyre into the trail's surface and always look up and ahead. Roll the foot and knee towards the desired direction of travel and twist the hips slightly in that direction also for added grip. Try and lay off the front brake in corners and sections that are steep and present front wheel washout potential. We will be doing a cornering special come the spring so stay tuned if your unfamiliar with these techniques, all will be revealed.
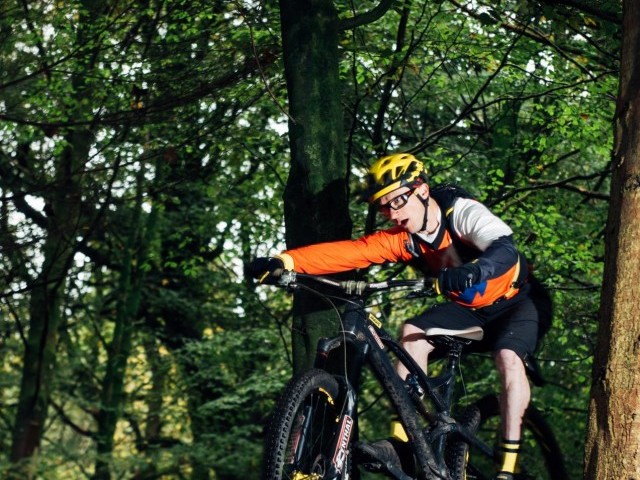
Weighting and unweighting the bike to get added pressure and grip give us a good start and a fighting chance, but what else have we learnt in the last year and how can these skills and techniques help in the slower sloppy conditions that winter gives. Timing, pedal placement and gear choice when aligned properly will help get that front end up-over and onto features, there may be soft spots in your line that a swift wheelie will get you over, a wet root at an awkward angle can be quickly eliminated with a speedy snap on the bar and strike on the crank. Wheelies and power wheelies are potent allies and should come in handy for traverse and climbing sections.
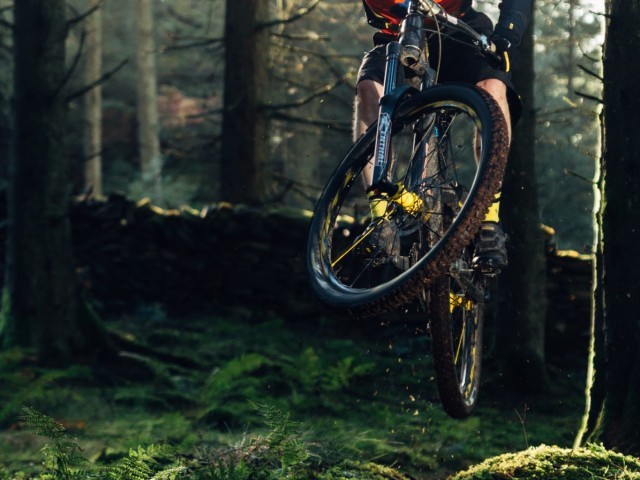
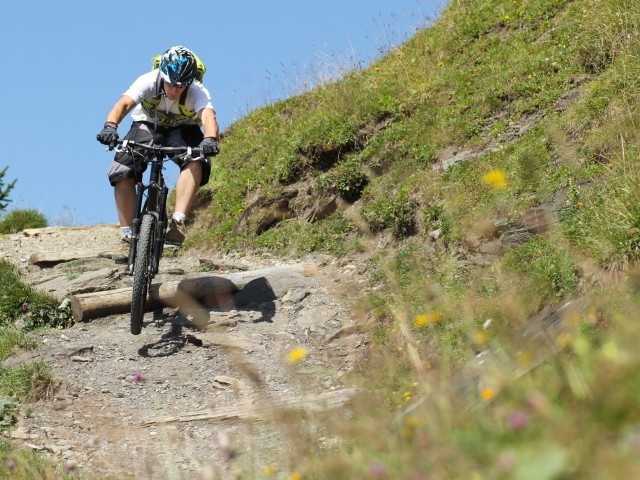
When gravity is on your side, and sniper roots lay in wait, its time to get the front wheel light by calling on the manual, the same is true for soft spots where speed enables us to coast through sections. Once again we don’t necessarily need to see lots of air under that front wheel for sustained distance, just using the same action to unweight the wheel is enough to float over the ground and avoid digging in. A light ‘dab’ on a rock or root can be far better than just ploughing through them, particularly when on the turn. However, sometimes there is the need to use the pressure technique and to punch/drive your way through the hits. Impetus deployed accurately can give heaps of grip on wet slippery edges, again timing and commitment are essential.
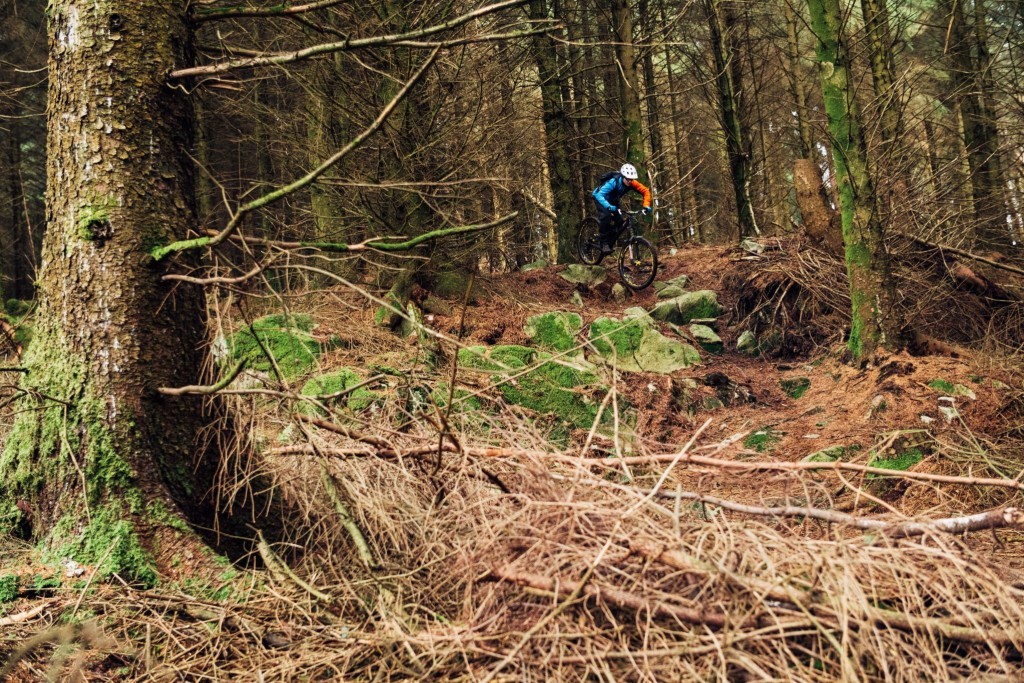
Trail sections that are littered with minuscule features rely on us switching our input and techniques from the soft and subtle wheels light approach to a dropped heel and hard hitting pressure on tactic in quick succession. Visualisation and the pre-empt of deflection and stall are imperative to tackling problematic technical sections at whatever speed. Sometimes the only way to learn is to get stuck in there and have a go (or not literally stuck as the case may be). If you are tentative, you will get bitten! Techy passages (and trails in general) are like angry dogs, display fear and risk a flesh wound, command the situation and rule the trail.
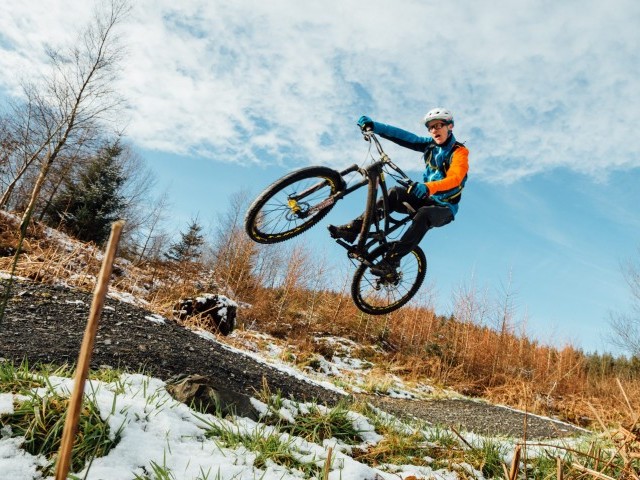
Bunny hops are invaluable and will again help eliminate soft sections and slippery features, exaggerated weighting and unweighting can link into hops, and the added impetus will give traction and cut through the slop will air time helping to pass rock roots and earth. The lateral hop enables us to reposition the bike where we want it, onto better ground and out of ‘slide-out’ situations and back on line. If you have been working on the bite-size chunks then just a little unweighting front then back wheel will help nicely when it comes to getting the grip.
Winter riding doesn’t have to be a grind, gear up and get out there to sharpen up your skills. Time served in the winter and trails tamed will make those summer blast all the better. With improved handling and control, your speed will naturally increase. Take the bike to the edge of traction rather than a loss of traction coming to you!
Here’s to another year of riding, power to ya pedals.
This technique article was in Issue 57 of IMB.
Related
By Clive Forth
Clive Forth is a rider who has been there, done that, got the t-shirt and cleaned his bike with it. He has grown with the UK scene and technological developments for the last 30 years and has competed at all levels in all disciplines riding for some prestigious brands along the way. Always looking for that extra edge with endless passion and drive he is geared up to bring you the inside line on all aspects of mountain biking skills and technique.


